-40%
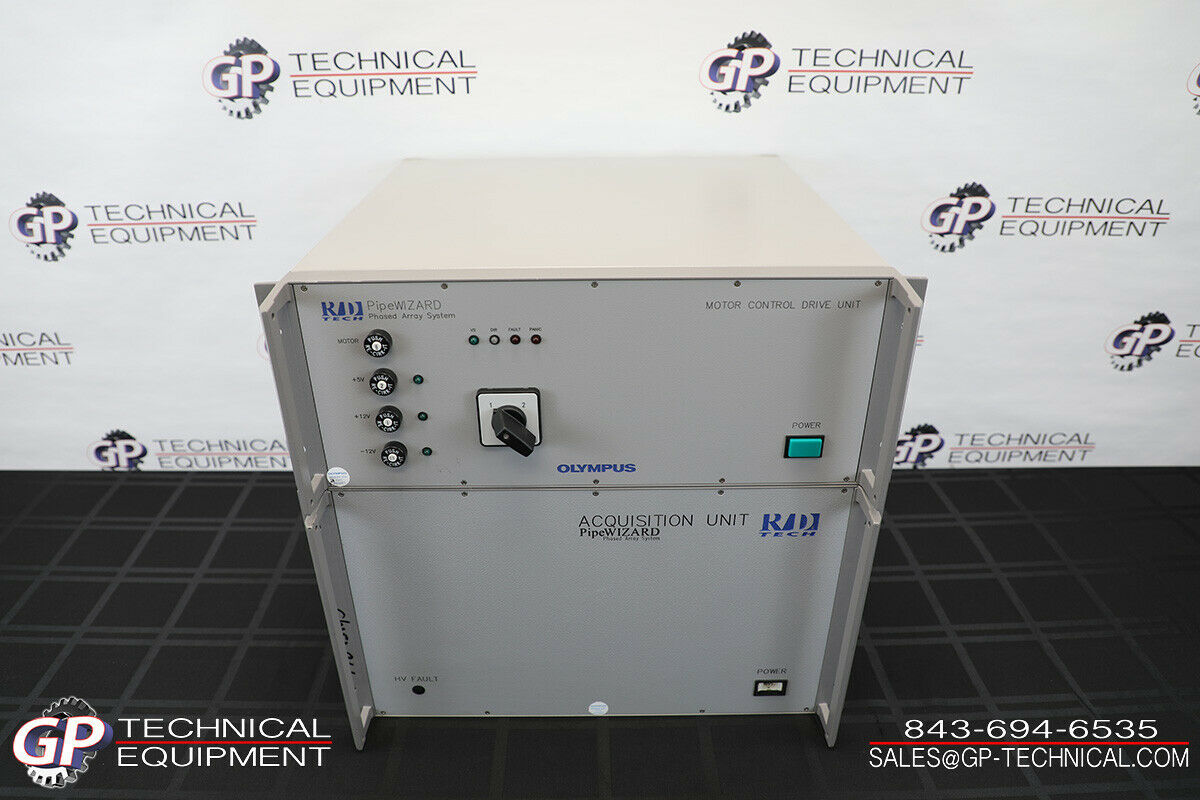
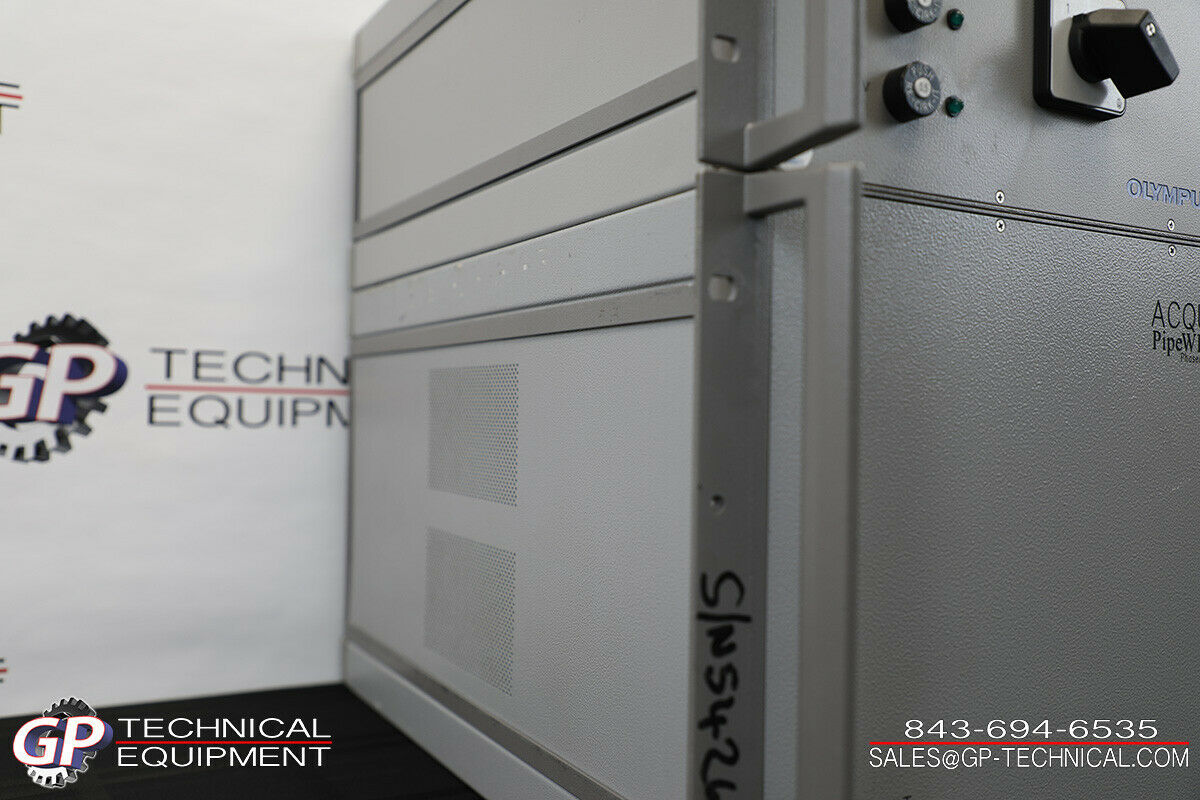
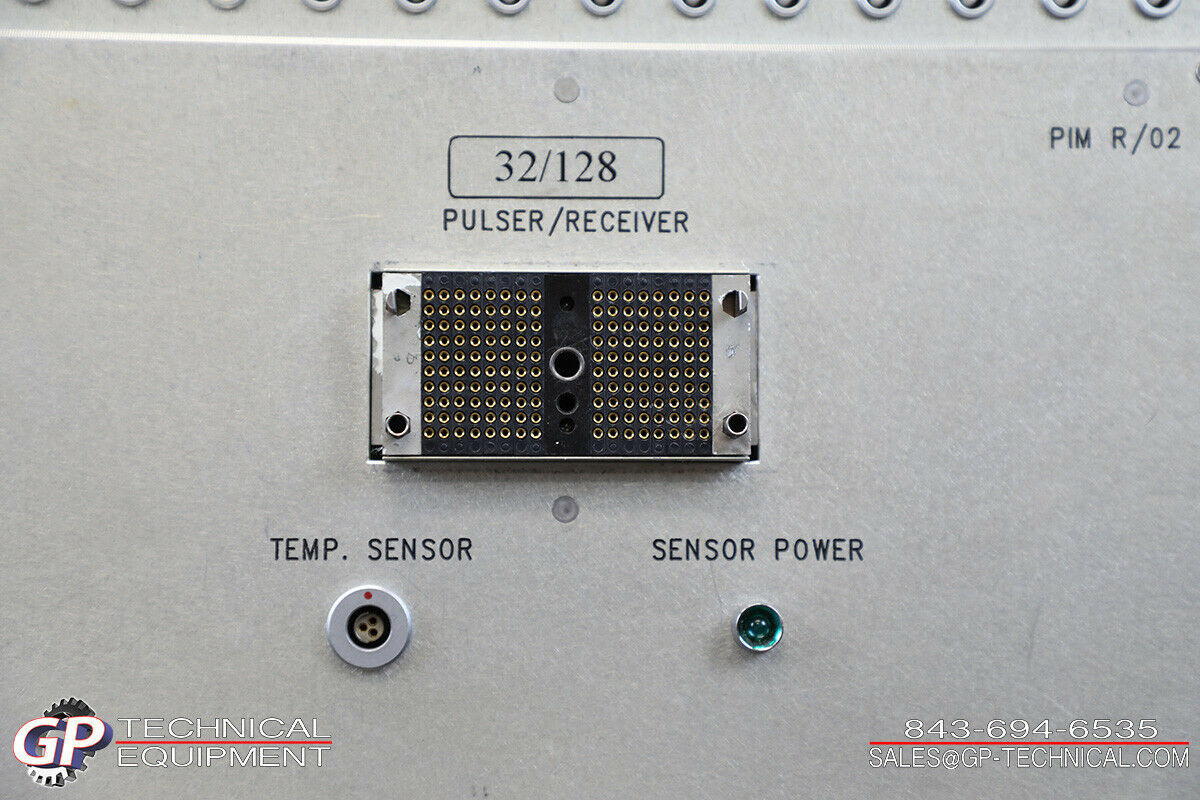
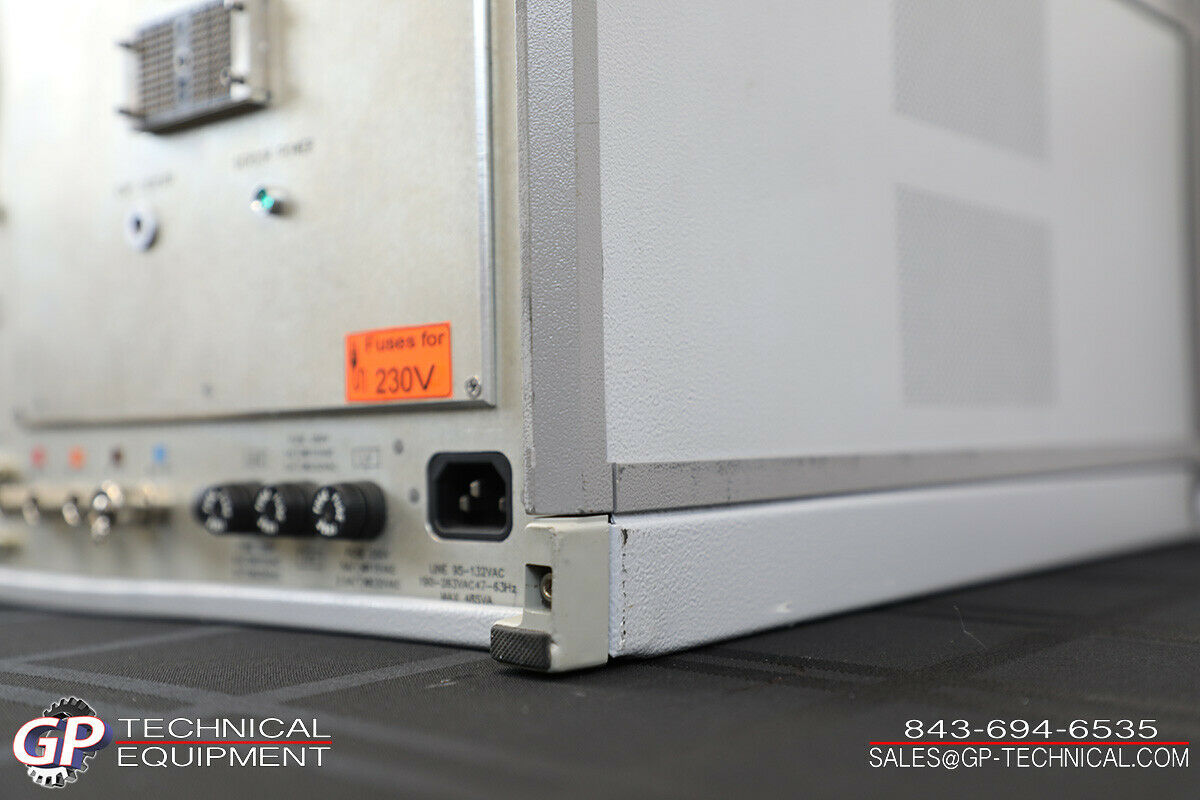
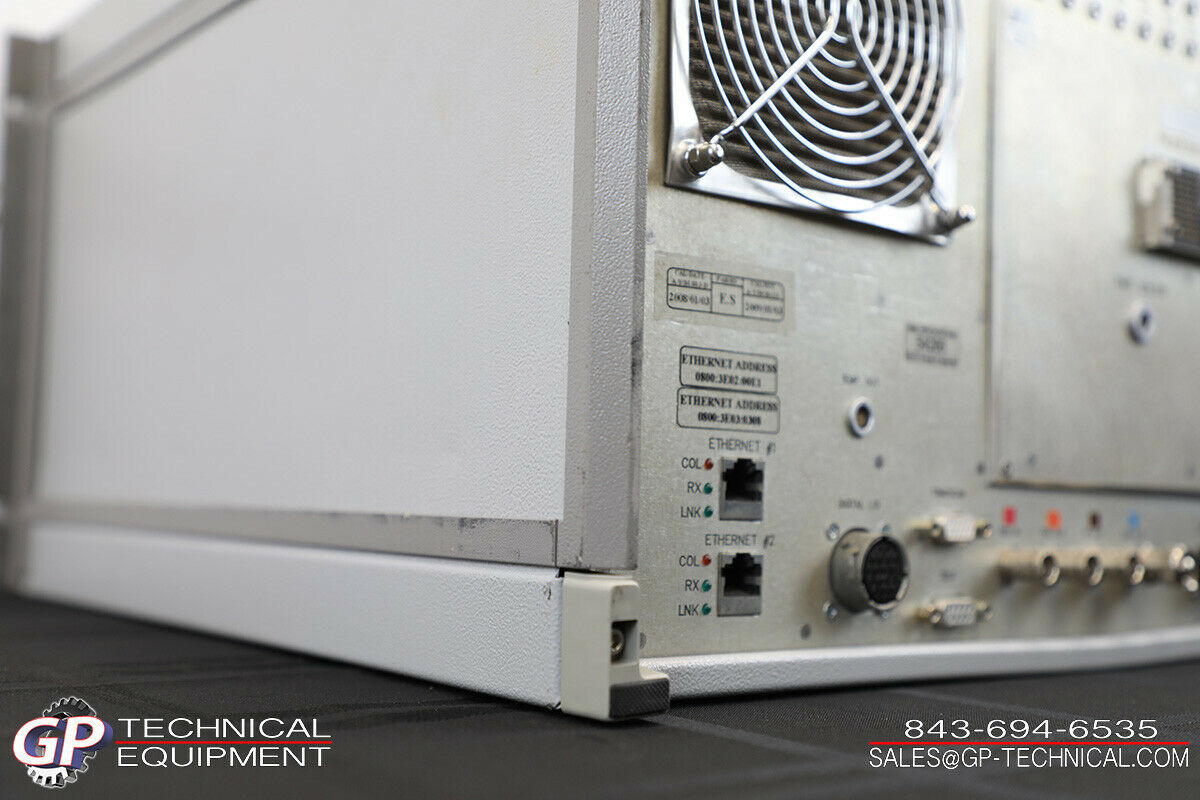
Olympus PipeWizard Girth Weld Inspection System Acquisition Unit & Motor Control
$ 5279.47
- Description
- Size Guide
Description
Olympus PipeWizard Girth Weld Inspection SystemStock #180418A
Included with Sale
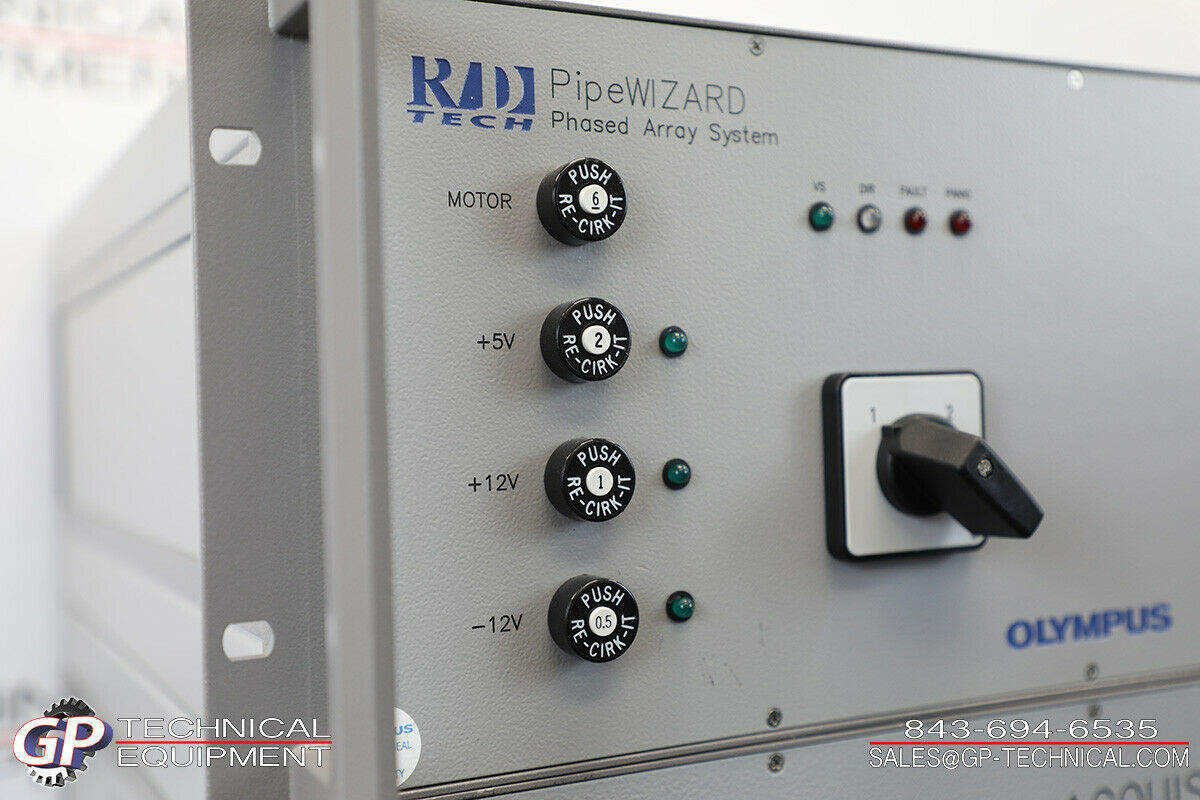
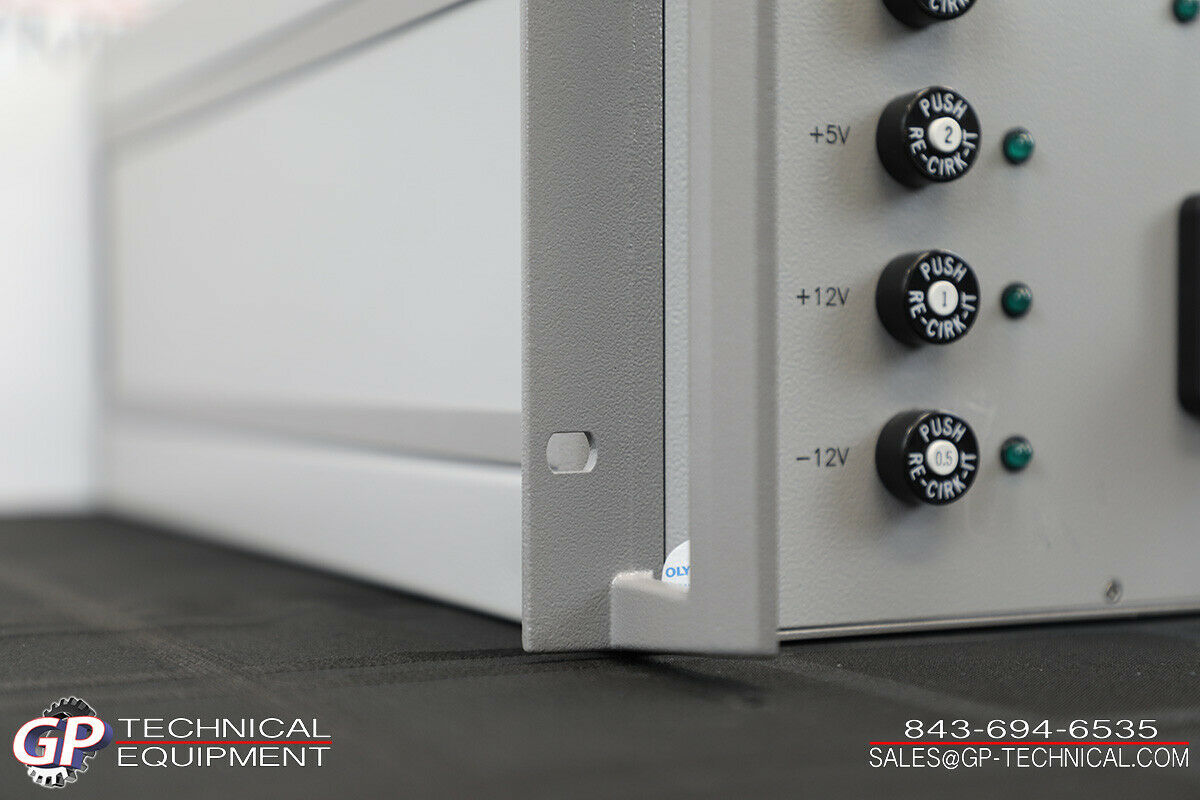
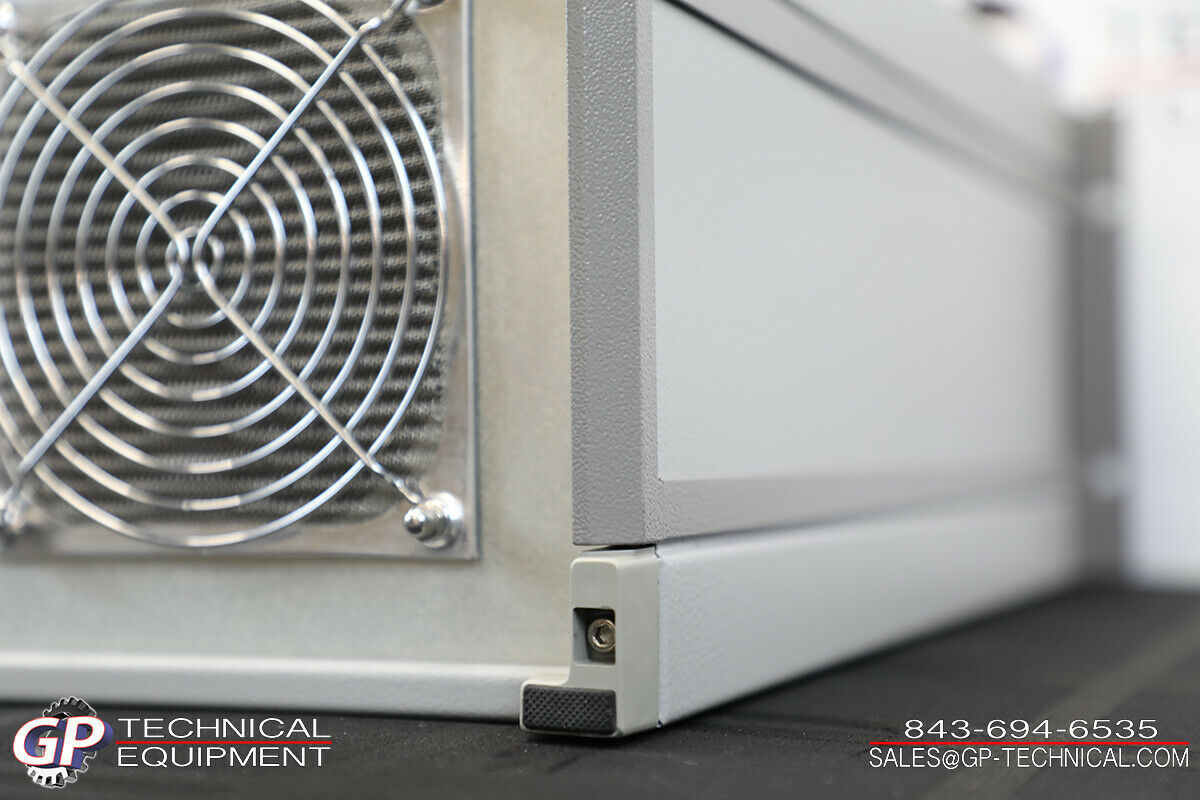
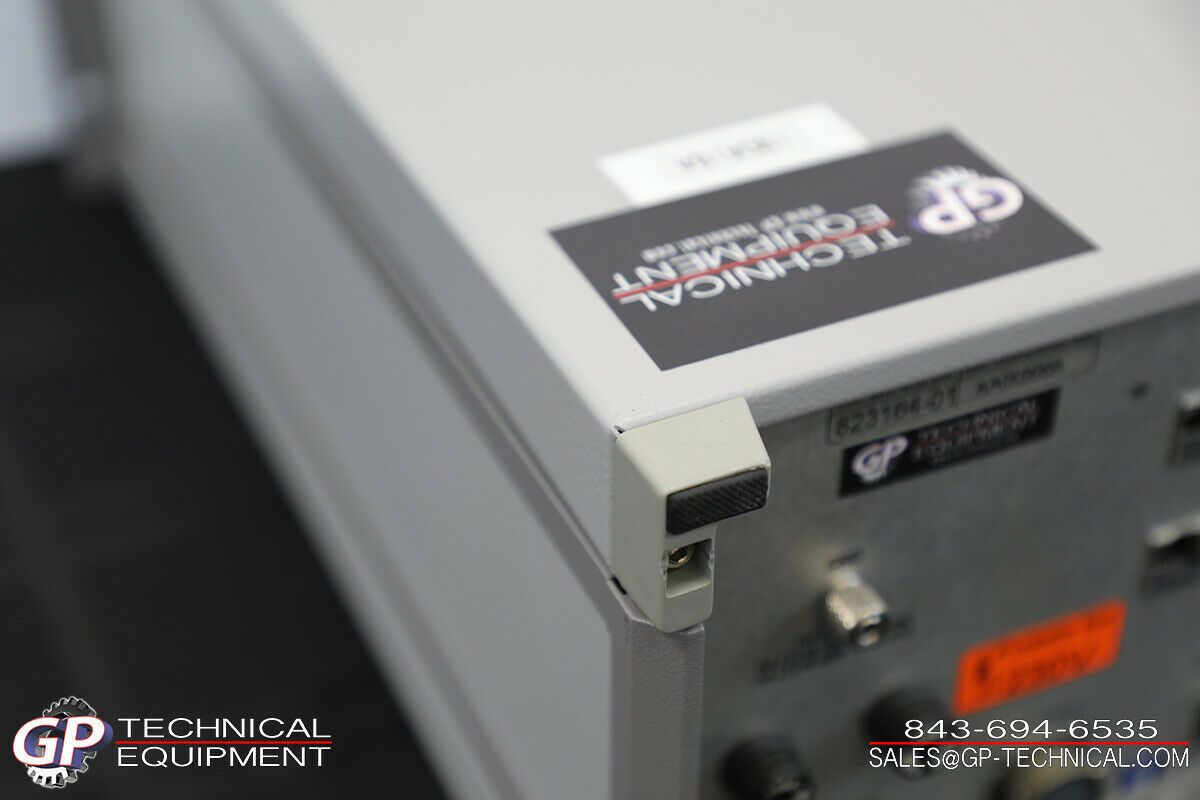
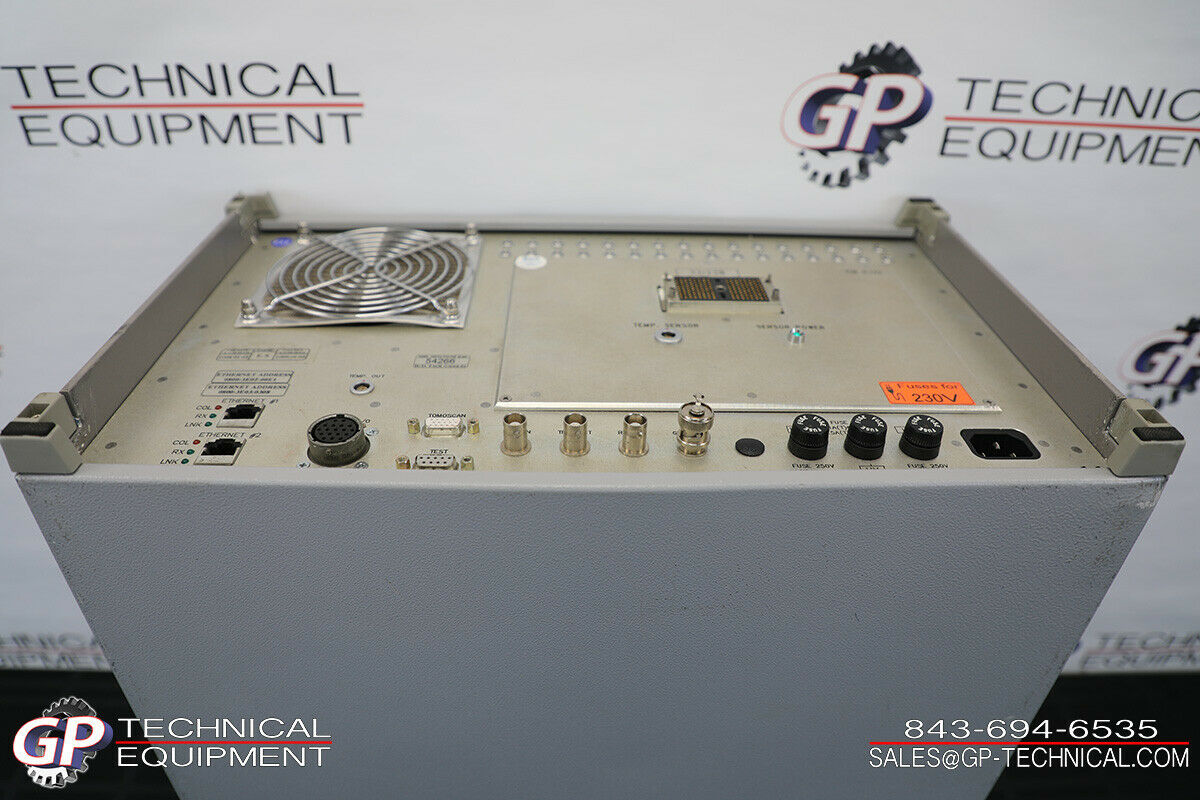
-Olympus PipeWizard Data Acquisition Unit
-Olympus PipeWizard Motor Control Drive
-Heavy Duty Transport Cases
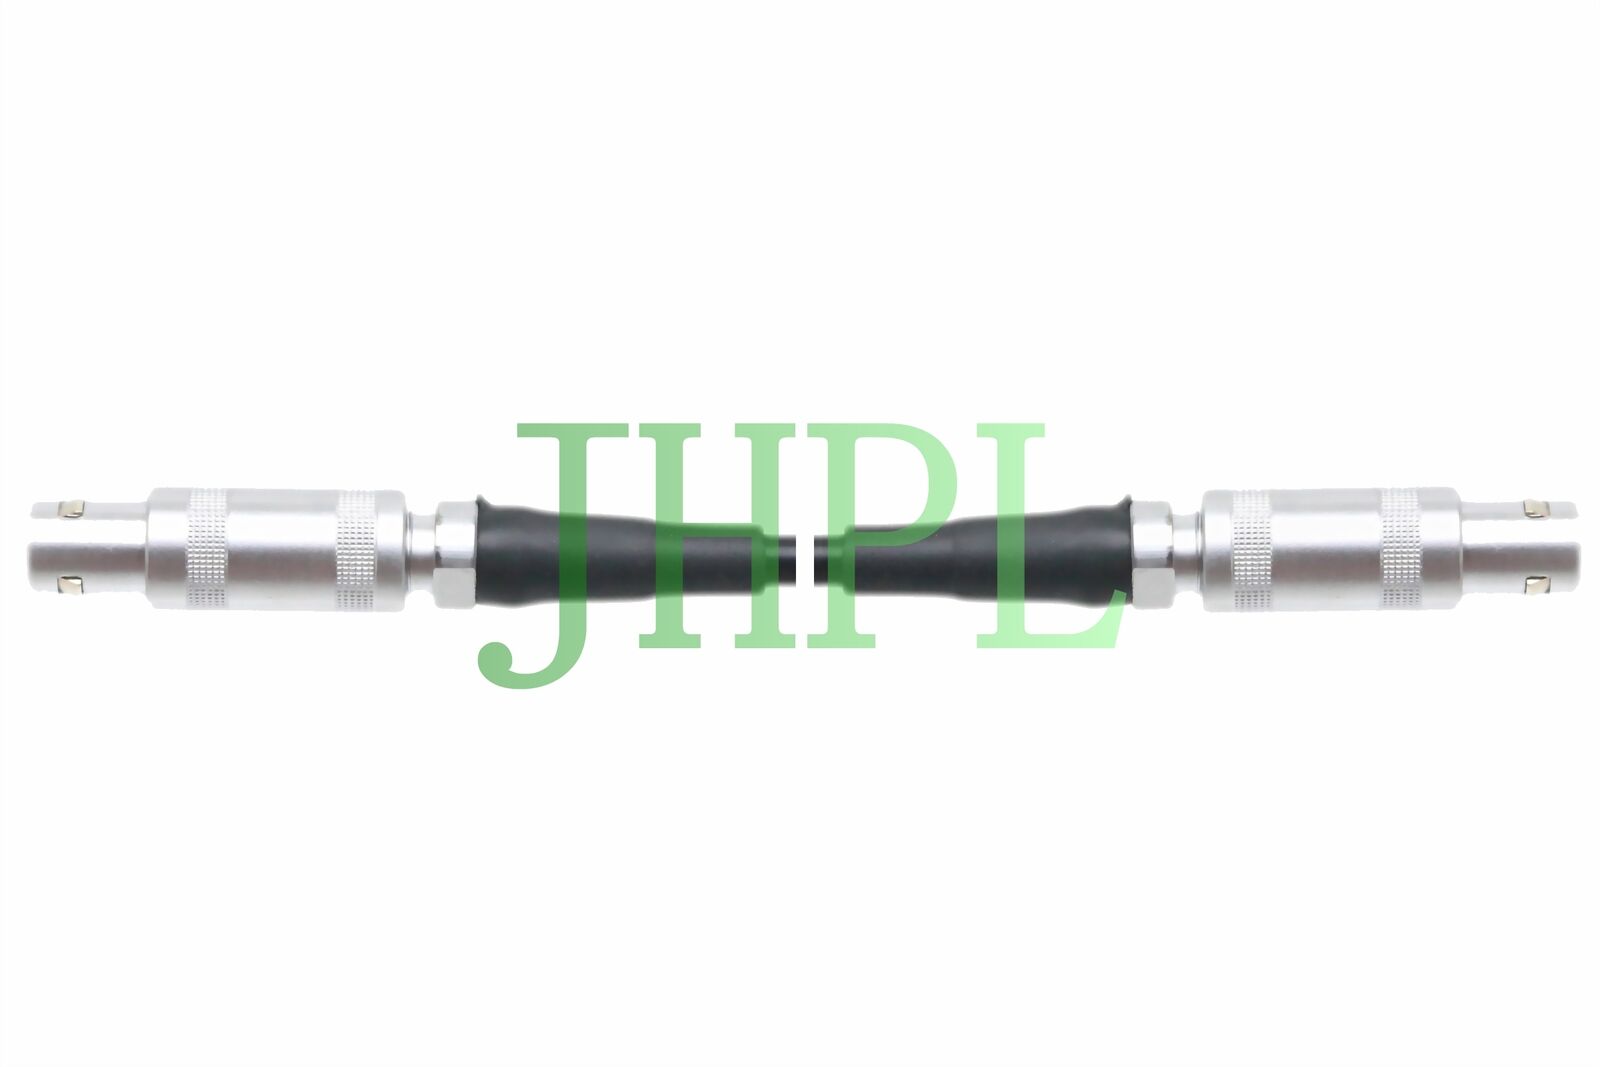
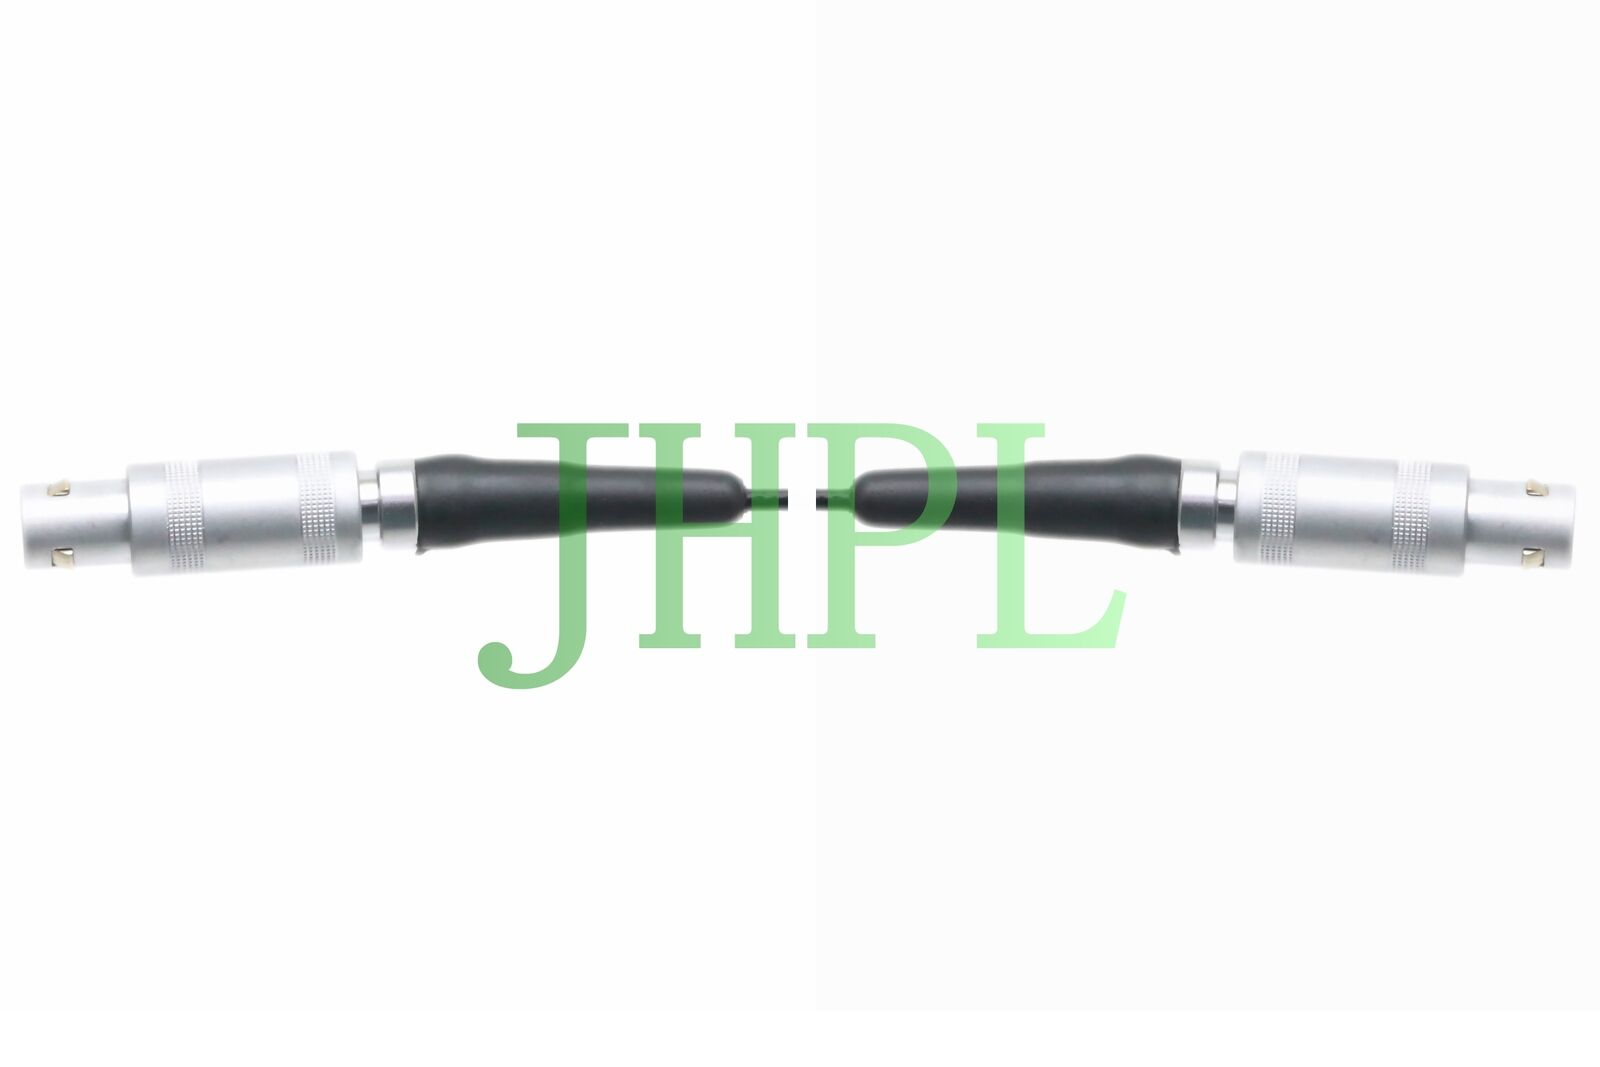
-Power Cables
Specifications:
Girth Weld Inspection System
The PipeWIZARD is an automated girth weld inspection system using phased array and conventional UT techniques (AUT). Specially designed for in-site weld-to-weld inspection in extreme environments, on-shore and off-shore.
Pipelines perform a critical function in the global economy, transporting huge volumes of gas, oil, water, and other chemicals. Pipes are girth-welded on-site, typically using automated welding systems. For construction of pipelines, welds are the "weak spot" as this is where defects tend to occur. Welds are nondestructively tested, coated, and buried or laid on the sea bed. Due to the demanding construction cycle, it is important that weld defects be detected and analyzed very quickly.
Automated Ultrasonic Testing (AUT)
In the last several years, automated ultrasonic testing (AUT) has begun overtaking traditional radiography as the pipeline weld inspection method of choice throughout the world. Radiography has significant limitations: poor detection of planar defects, no vertical sizing capability, safety issues, and environmental concerns.
The advantages of AUT:
No radiation hazard, no chemicals, no licensing
Very short inspection cycle time for high production rate
Better detection and sizing accuracy, leading to lower rejection rate
Use of Engineering Critical Assessment (ECA) acceptance criteria with measurement of vertical height and depth of indications, reducing rejection rate
Real-time analysis from smart output display
Data and inspection reports on electronic support
Better control of welding process, also giving lower rejection rate
Phased Array Technology
The early AUT systems used multiprobe systems with conventional ultrasonic probes. A decade ago, phased array systems became available. Phased arrays use electronic beamforming to generate and receive ultrasound. Each element in the array is individually pulsed and delayed to create a wide range of beam angles and focal distances.
Phased arrays offer major advantages over conventional multiprobe systems:
-Typically, two phased array probes replace more than 24 conventional transducers
-Phased array setups are performed by loading a file, not by adjusting each individual transducer position
-Phased array beams are optimized (angle, focus, UT path, beam width) by setting appropriate parameters in the software, leading to better sizing accuracy
-Phased array system has about 80% fewer moving parts than equivalent conventional multiprobe system, giving steady inspection reliability scan after scan
-A phased array scanner is significantly smaller and lighter than conventional multiprobe scanner. It is then easier to manipulate and requires less coating cutback on each side of the weld
-Phased array systems are used to inspect almost any type of weld configuration, while conventional multiprobe systems are limited in wall-thickness and pipe diameter
-Phased array electronic scanning allows customized weld inspections, including multiangle TOFD, advanced imaging, and detailed inspections
Codes Compliance
In 1998, the ASTM published the E-1961-98 code (reapproved in 2003), which covers key elements of AUT of girth welds - zone discrimination, rapid data interpretation, specialized calibration blocks, and configuration procedures. The E-1961 code is designed for ECA. Similarly, in 1999, the American Petroleum Institute (API) published the 19th edition of Standard 1104, which covers mechanized ultrasonic testing and radiography of girth welds.
PipeWIZARD allows inspections to comply with the ASTM E-1961 code, and by inference, with the API 1104 standard. It also allows compliance with the DNV-OS-F101 standard, the offshore AUT code.
Company specifications may exceed the codes, typically by asking for improved sizing or better resolution.
PipeWIZARD Experience
The PipeWIZARD system is specially designed to work in extreme environments, from cold Siberian regions to hot Middle-East deserts; in humid, salty or dry conditions. Extensive tests have been also performed to ensure the PipeWIZARD capability to resist to vibrations, shocks, and electromagnetic interferences.
PipeWIZARD fits all configurations of circumferential welds:
-Any type of weld profiles: CRC-Evans, J-bevel, V-bevel, double V, X, etc.
-Typical pipe wall thickness: from 6 mm (0.25 in.) to more than 35 mm (1.4 in.)
Options are available for thicker pipes
-Typical pipe diameter: from 6 in. to more than 56 in.
Options are available for smaller diameters
-Pipe material: from standard carbon-steel to more complex configurations like Inconel, cladded pipe, seamless pipes with wall-thickness variation, etc.
Typical detected defects are lack of fusion, incomplete penetration, porosity, burn through, undercut, hi-low, crack, cold lap, inclusion, etc.
The inspection cycle time is between 2 min and 6 min depending on the type of weld, pipe diameter, location, and environment.
Summary of PipeWIZARD Deployment
-PipeWIZARD phased array systems are used in the largest onshore and offshore pipeline construction projects throughout the world.
-More than a million welds have already been inspected with PipeWIZARD systems.
-Major oil and gas companies have already qualified the PipeWIZARD systems for pipeline construction projects:
-Exxon Mobil
-Shell
-TOTAL
-BP
-Chevron
-Eni
-Petrobras
-Gazprom
-Hundreds of operators in the world are already trained on PipeWIZARD systems.
Zone Discrimination Inspection Technique
The main technique used with the PipeWIZARD system is the zone discrimination technique where each individual zone of the weld is inspected with a specific ultrasonic beam. The height of the zones is approximately equal to a welding pass.
Two phased array probes, one on each side of the weld, ensure a full coverage of the bevel area and the volume of the weld. Pulse-echo and transmit-receive ("pitch and catch") configurations are used depending on the zone inspected. These phased array channels are displayed in a strip-chart mode.
An additional technique is used to improve detection and sizing on small or misoriented indications: time-of-flight diffraction (TOFD). It is also used to confirm indications detected in the strip-chart channels. TOFD data can be provided by the phased array probes or by dedicated conventional transducers.
An optional transverse module with 4 dedicated conventional transducers can be used to detect transverse indications in the weld.
Specific channels are displayed to monitor the coupling of each phased array probe during the scans of the weld and of the calibration block.
Each weld configuration requires a dedicated calibration block with the same diameter, thickness, and material as the pipes to be used on site. Specific reflectors are machined, representing the typical defects more likely to appear during the welding process. All the beams are calibrated according to the inspection procedure.
Advanced User-Friendly Software
The PipeWIZARD V4 software is based on the robust and field-proven TomoView data acquisition and analysis software. It features simple automatic setup creation, numerous data analysis tools (including 2D-view), easy reporting, and advanced weld inspection capabilities. PipeWIZARD V4 software has been designed to be simple, flexible, and scalable for more complex configurations of inspection. The user interface has been optimized for fast training and efficient field operation; no additional training is required for experienced operators.
PipeWIZARD V4 software is based on the Tomoview platform, which is constantly reviewed for improvements. It also means that upgrades can be easily implemented even in the field.
Automatic Setup Creation
An operator can create a setup off-line, independently from the instrumentation. In a matter of minutes, the setup file can be saved and sent to any job location by email, then, the on-site operator only has to calibrate the system.
In addition to standard strip chart channels and single focal-law B-scan views (TOFD, volumetric and root mapping), setups can now feature sector and linear scan channels. This new capability has the potential to improve defect detection and sizing well beyond any zone discrimination code requirements.
Calibration and Inspection
Data acquired is displayed in real time during the inspection sequence. Data file names are automatically incremented.
The TomoScan FOCUS LT acquisition unit used in the PipeWIZARD V4 has improved data throughput compared to the previous acquisition unit (4 MB/s vs. 0.7 MB/s). This allows full data collection of compressed A-scan; in addition, multiple setups can be run simultaneously, while scanning at up to 100 mm/s.
Rapid and Detailed Analysis
The PipeWIZARD software provides virtually unlimited number of channels in 10 separated layouts. This software allows automatic interpretation of data by displaying the defect position on the bevel profile, as well as its circumferential position.
Many analysis tools are available to help the operator size and position the indications:
-Twin gate for the strip chart
-Weld overlay on sector scan and linear scan (see below)
-Zooming function
-View linking
-Custom views
-Automatic measuring
-Cumulative indications measurement
-C-scan merge function
-Customizable color palette
Automatic Reporting
PipeWIZARD software provides automatic report generation. Reports are customizable and may include project name, scan date and time, weld ID, operator's name, full scan views, bevel drawing with information of inspected zones, defect table with identification, length, height, position in the weld, weld status, and operator's comments, etc.
Easy Data Storage
All data files can be stored on any external hard drive or archived on CD/DVD for further consultation. Automatic backup feature allows data mirroring for increased data security. Data files can also easily be sent via Internet to other parties.
PipeWIZARD VIEWER
PipeWIZARD VIEWER™ is a free software for phased array and ultrasonic data viewing. This software gives the capability to load data files generated by PipeWIZARD V4 software. It is very useful for third party or end customer to review scans. PipeWIZARD VIEWER software runs on Microsoft Windows XP Pro with SP2, Microsoft Windows Vista, and Microsoft Windows 7.
Advanced Applications
The PipeWIZARD system is versatile and allows the inspection of special weld configurations and applications.
Cladded pipe
: PipeWIZARD is already qualified for cladded pipe projects with specific inspection techniques using longitudinal waves and the advanced capabilities of the software.
Seamless pipe
: a unique inspection technique has been developed and qualified for PipeWIZARD software to allow the inspection of welds with large variations of pipe wall thickness.
Thick pipe
: PipeWIZARD system can be adapted to inspect welds of thick pipe using different probes, wedges, and with minor mechanical modifications.
Trade Ins:
We offer some of the highest prices on your used test equipment. We do partial trade ins or will buy your used equipment outright. An estimated trade in value will be assessed within 24 hours of receiving a value request.
Payment terms:
We accept payment prior to shipping by Visa, MasterCard, AMEX, and Paypal (up to .000). Businesses and Universities, please call for payment options. Please notify us of method of payment in a timely fashion after the auction has ended. If a buyer has not made any attempt to contact us 7 days after this auction's end time we will assume they are forfeiting the auction and the item will no longer be available to them.
International Buyers:
We reserve the right to accept or decline international Paypal and credit cards. International shipping is available, but clearing customs will often result in delivery delays.
Shipping Terms:
Buyer pays for shipping and packaging for this item. International buyers will pay for shipping charges to their country.
* Shipping and handling fees are not refundable under any circumstances. In the case of a return, the buyer is responsible for all shipping fees.
* Shipping for international buyers will be invoiced separately from the purchased product due to the high expense of shipping charges.
* Your phone number is required for shipping purposes, so please provide it with all correspondence.
* Please note that calculated shipping is based on UPS. We also reserve the right to ship for the same cost via FedEx or other carriers.
Packaging:
All items will be packaged with materials necessary to ensure that the equipment will be adequately protected from the shipping process.
Feedback:
We appreciate Positive feedback. We leave feedback as soon as we get feedback from you. If you have any problems with the sale, please try to resolve it with us before you leave us a Neutral or Negative feedback.
Warranty:
No warranty is expressed or implied with any unit. All sales include a 3 day right of return (ROR). For any reason, within 72 hours of taking possession of the item, the buyer can return the item for a complete refund minus all shipping costs.
Return Policy:
You can return the item for any reason
within three days
. We put great effort into thoroughly documenting each piece of equipment, typically with very detailed pictures and video clips. We strongly encourage you to study these im
ages closely before you commit to purchasing the item.
Please call or email us if you have
any questions
about anything that you are uncertain about.
It is critical that you confirm that this item suites your needs within the
three day return policy
period.
Any returns after two weeks will not be entertained, and we will automatically escalate to Ebay. If you choose to open an Ebay return case, and we are forced to accept the return, you are responsible for the following:
*Return Shipping and insurance of the item to our Store at the following address:
GP-Technical
246 Pooler Parkway Suite E
Pooler, GA 31322
(843)694-6535
*A Restocking fee of 10% of the purchase price for every week (after the initial 3 day return period) that the item is in your possession, not to exceed two weeks.
